There’s nothing like a fresh, new mani/pedi to make you feel confident and beautiful. But who has time to go to the salon every week?
With a few easy steps, you can achieve the perfect at-home mani/pedi in no time. In this post, we’ll show you how to do it.
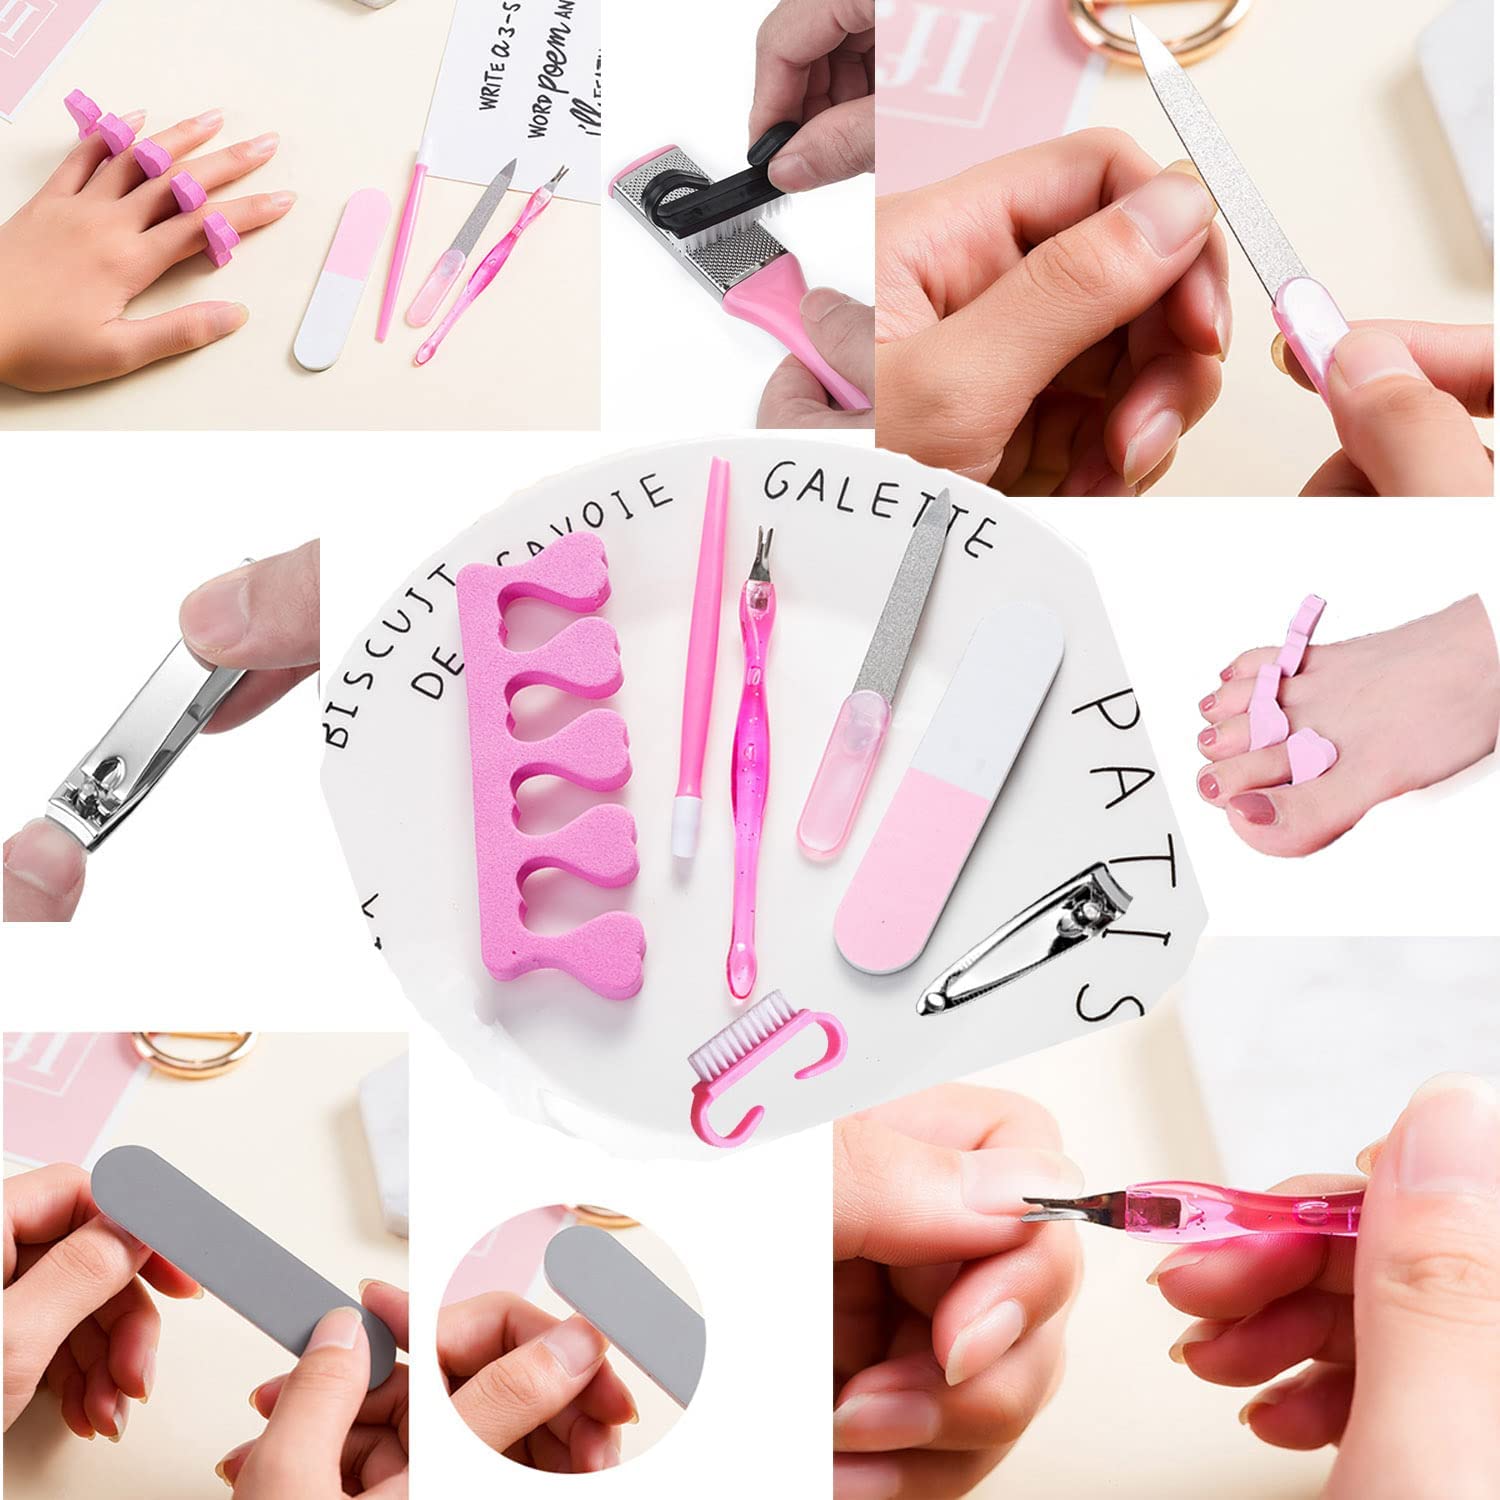
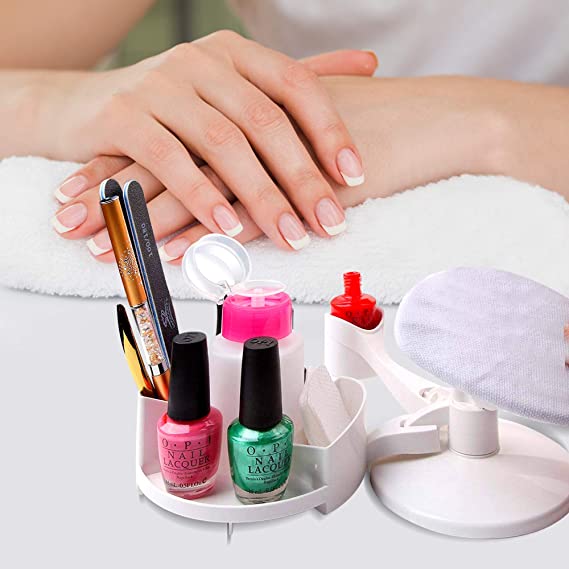
1. Gather Your Supplies: Polish, Top Coat, Base Coat, Cuticle Oil, Cotton Balls, Acetone
Now that you have all of your supplies, it’s time to get started on your at-home mani/pedi!
1. Apply a base coat. This will help protect your nails from staining and make the polish last longer.
2. Apply two coats of polish, allowing each coat to dry completely before applying the next.
3. Once the final coat of polish is dry, seal it in with a top coat.
4. Massage a small amount of cuticle oil into your cuticles and nails to keep them hydrated.
5. Soak a cotton ball in acetone and use it to clean up any mistakes or excess polish around your nails.
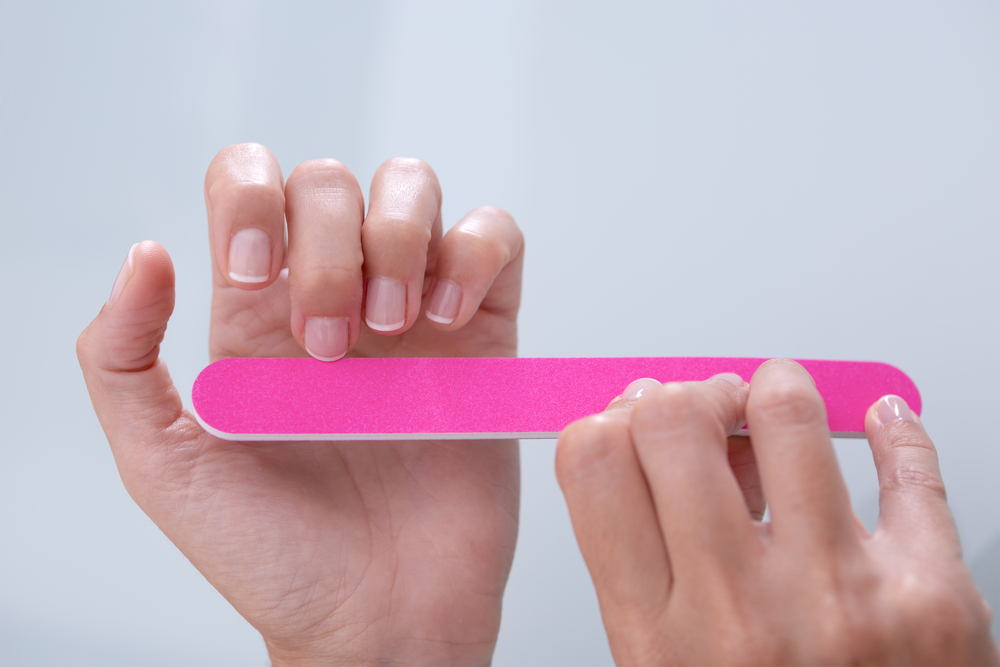
2. Prep Your Nails: Push Back Cuticles, File Nails
Now that your nails are clean and prepped, it’s time to do the actual filing and polishing.
For filing, use a gentle-grit file to get your nails into the desired shape. Be careful not to go too short or too long, and avoid filing in one direction only (this can weaken the nail).
When it comes to polishing, there are a few things to keep in mind. Always start with a thin coat of polish (this will help your nails look longer and less streaky), let it dry for a few minutes, then add another coat if needed. If you’re going for a solid color, wait for each coat to dry completely before applying the next. If you’re doing a French mani/pedi, use a white polish as your base and add other colors on top.
3. Apply a Base Coat
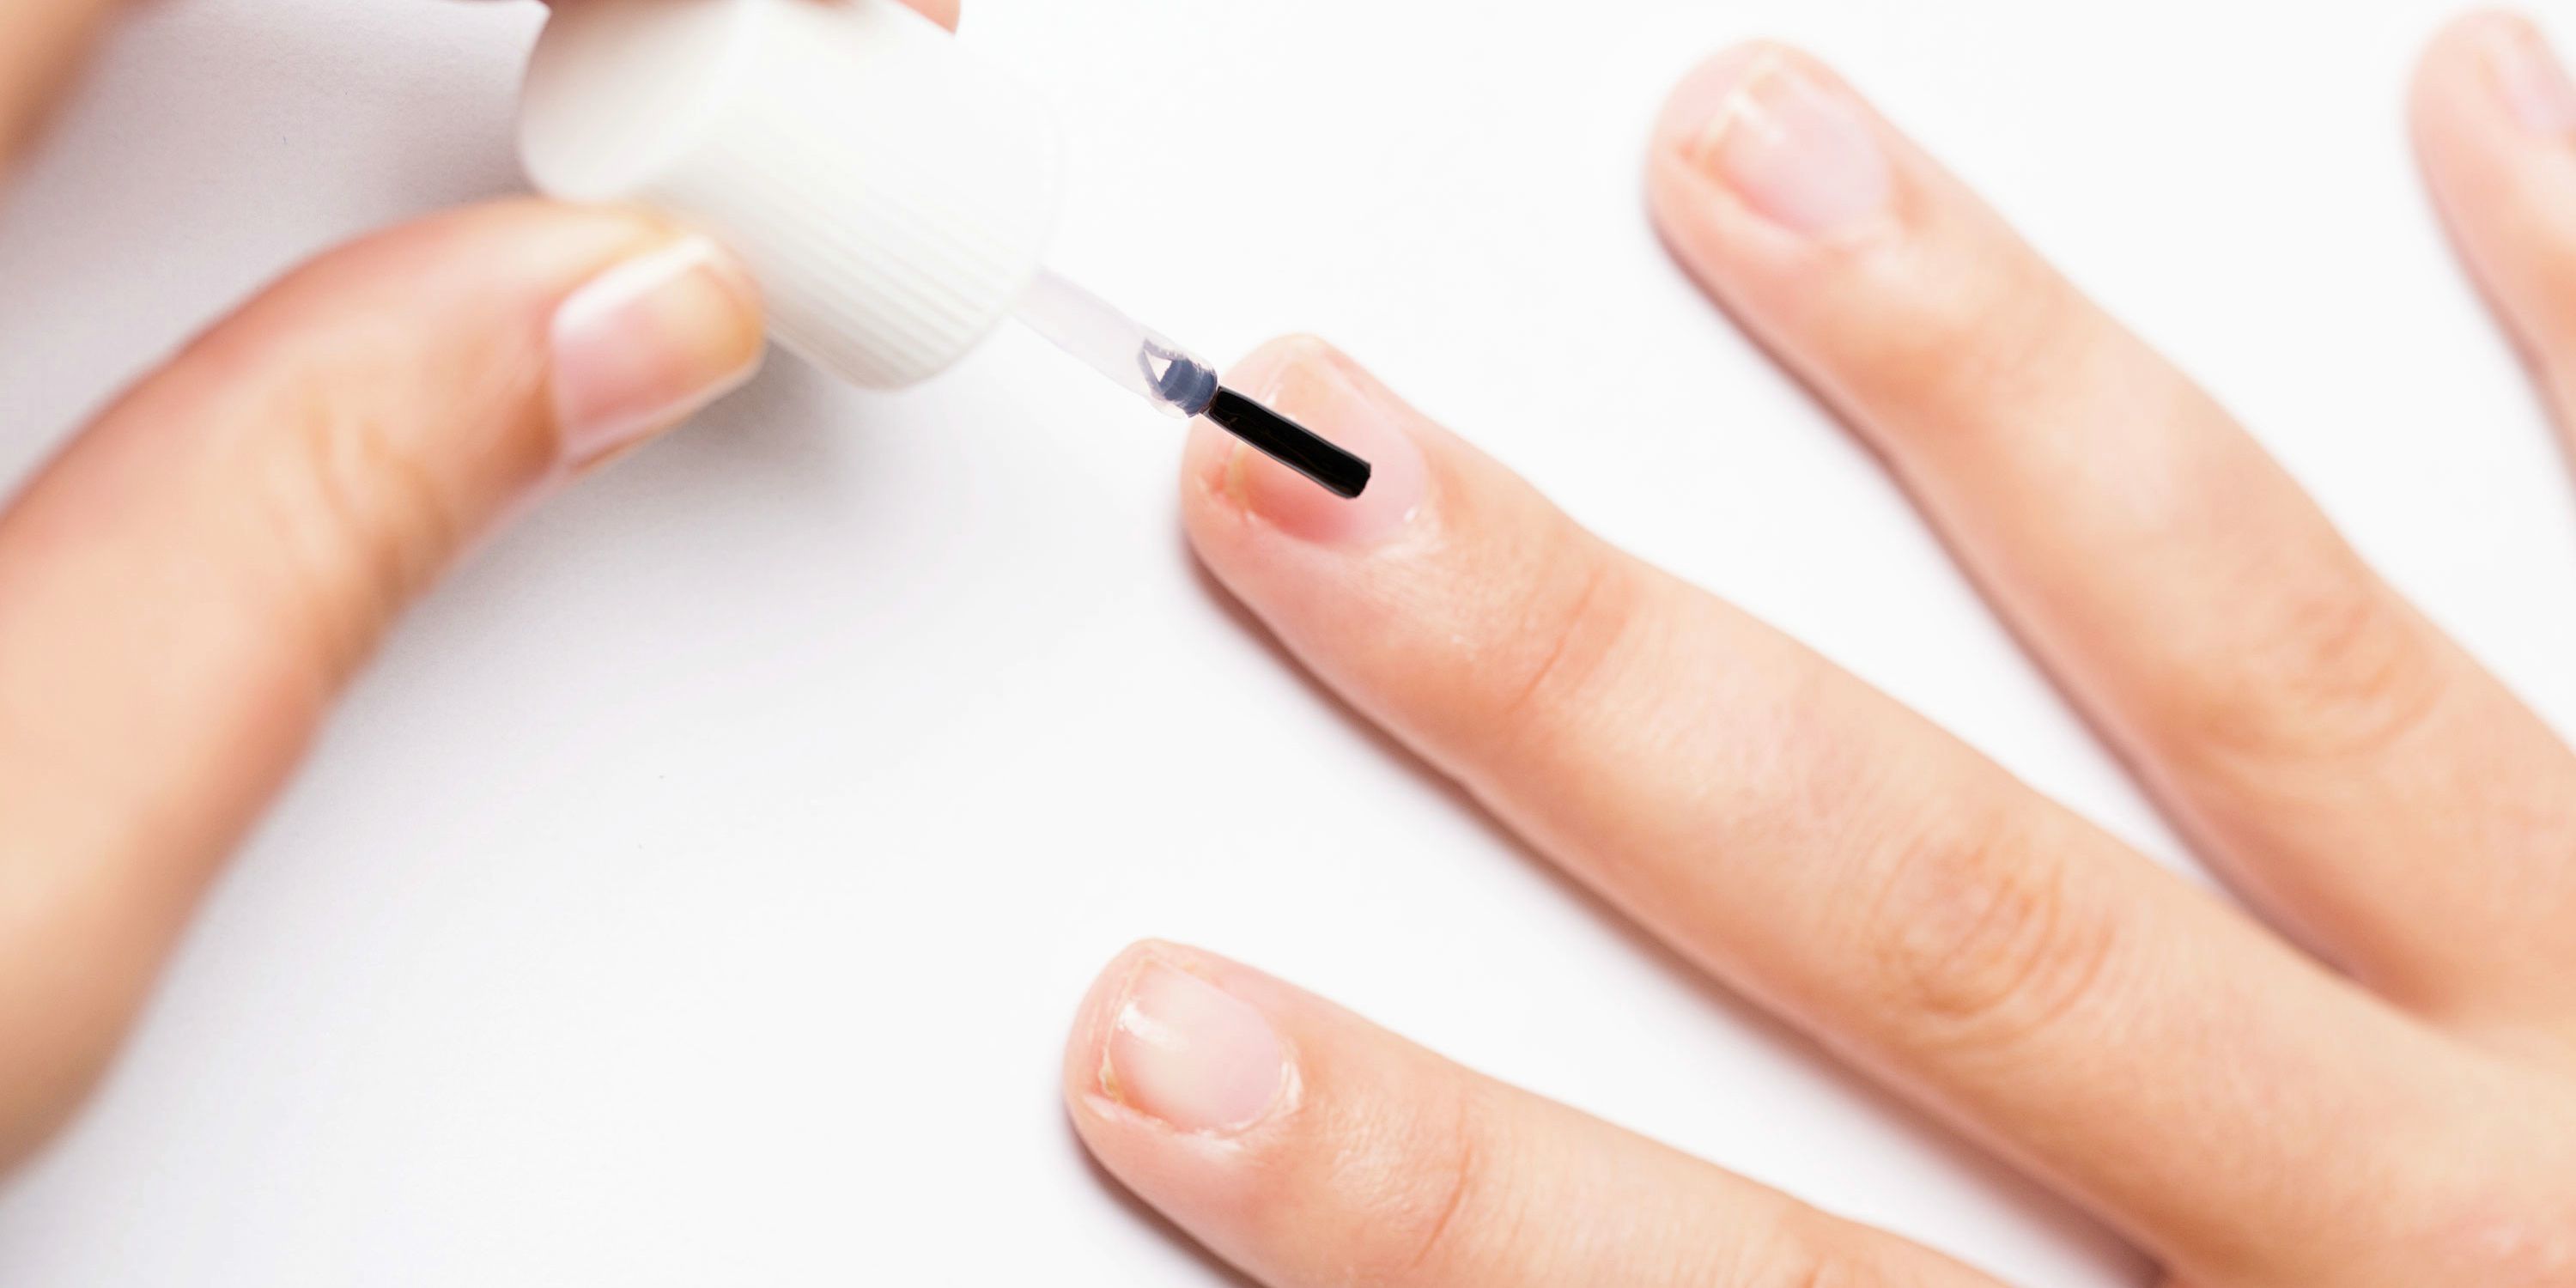
One of the most important steps in any mani/pedi is applying a base coat. This will help to protect your nails from staining and make your polish last longer.
There are a lot of different base coats on the market, so you can choose the one that best suits your needs. If you have weak or brittle nails, I recommend using a strengthening base coat. If you have trouble with nail polish chipping, try using a base coat with a high-shine finish.
No matter what type of base coat you choose, make sure to apply it evenly to all of your nails and let it dry fully before moving on to the next step.
4. Apply Polish in Thin Coats
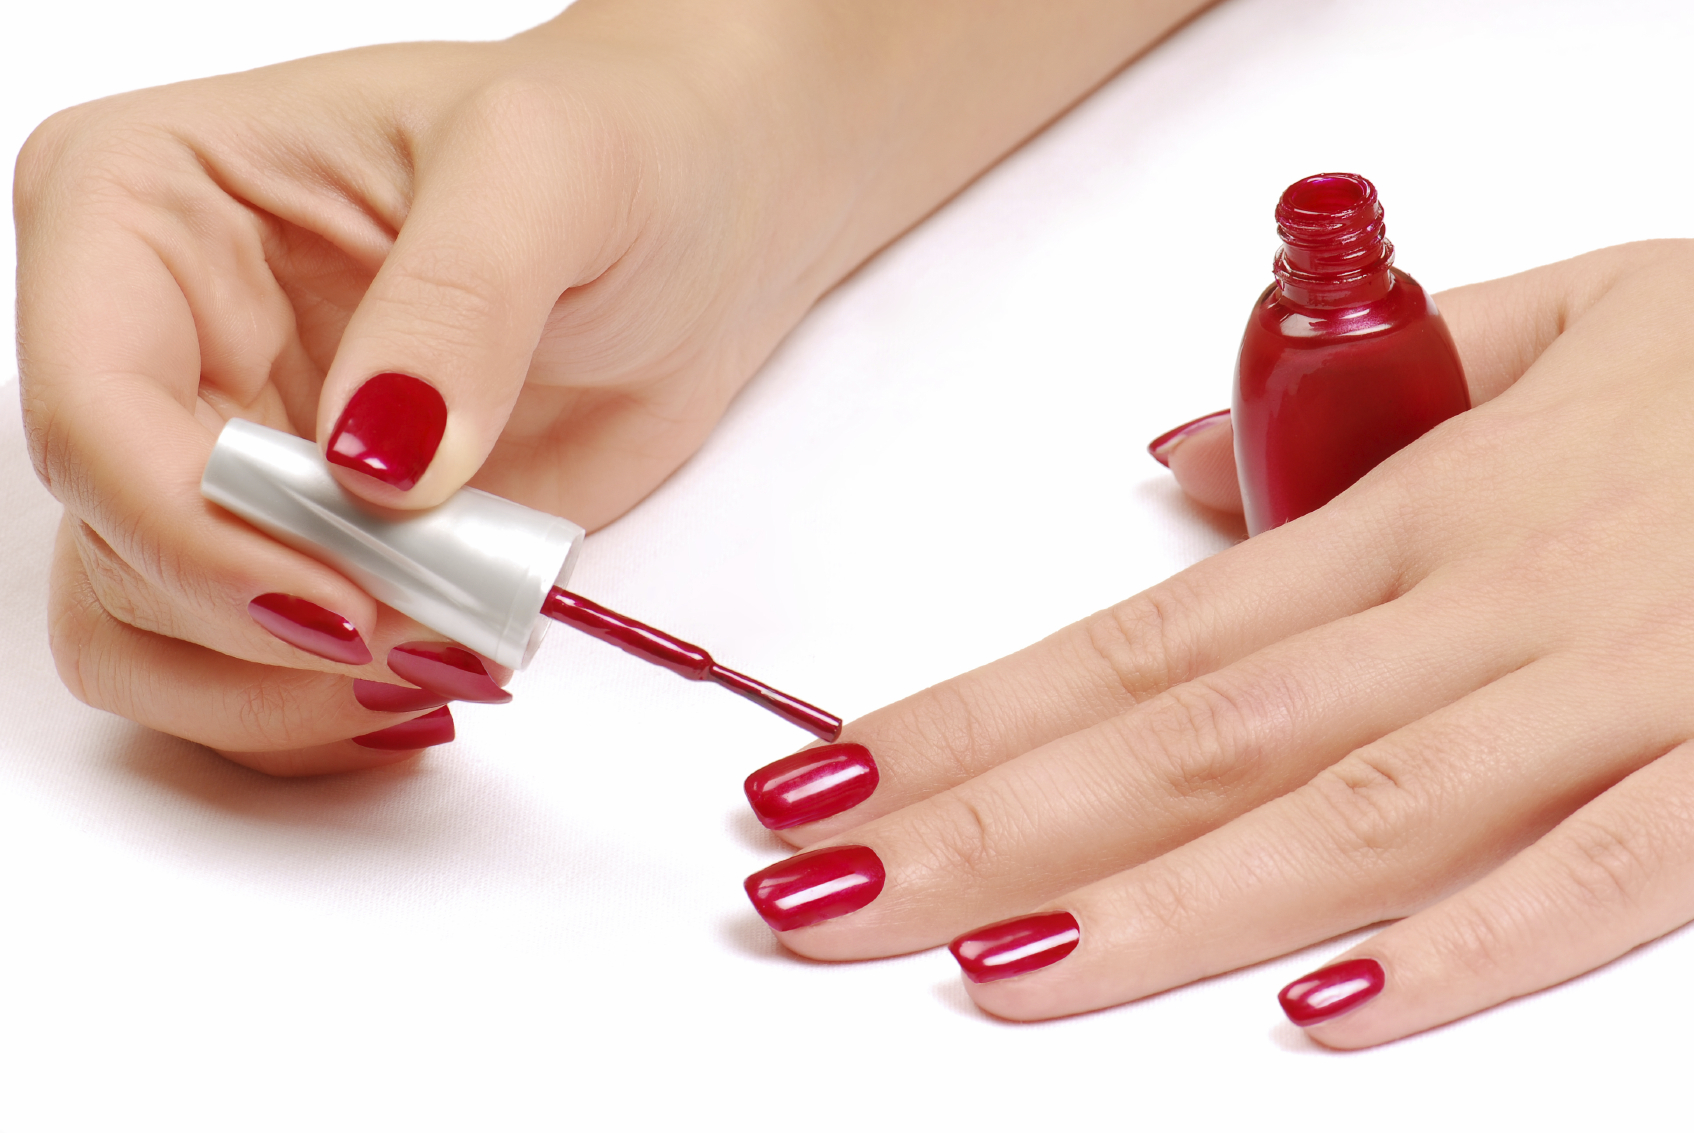
Applying polish in thin coats is the best way to get a perfect mani/pedi at home. It will help the polish dry faster, and it will be less likely to chip. Plus, it’s less messy and makes it easier to control the amount of polish you’re using.
To apply polish in thin coats, start by painting the nail in the center of the nail bed. Then, use long, smooth strokes to apply polish to each side of the nail. Avoid going over the same spot too many times, as this can cause the polish to streak. If you do end up with streaks, use a cotton swab dipped in acetone to remove them.
5. Apply a Top Coat

Now that your mani/pedi is done, it’s important to apply a top coat. This will protect your nails from chipping and will help your polish last longer. There are a few different types of top coats to choose from, so it’s important to find one that’s right for you.
If you’re looking for a high-shine finish, opt for a gloss top coat. If you’re looking for something a little more durable, go for a gel top coat. Or if you want something that will make your nails look wet, try a water-based top coat.
Clean Up Any Mistakes
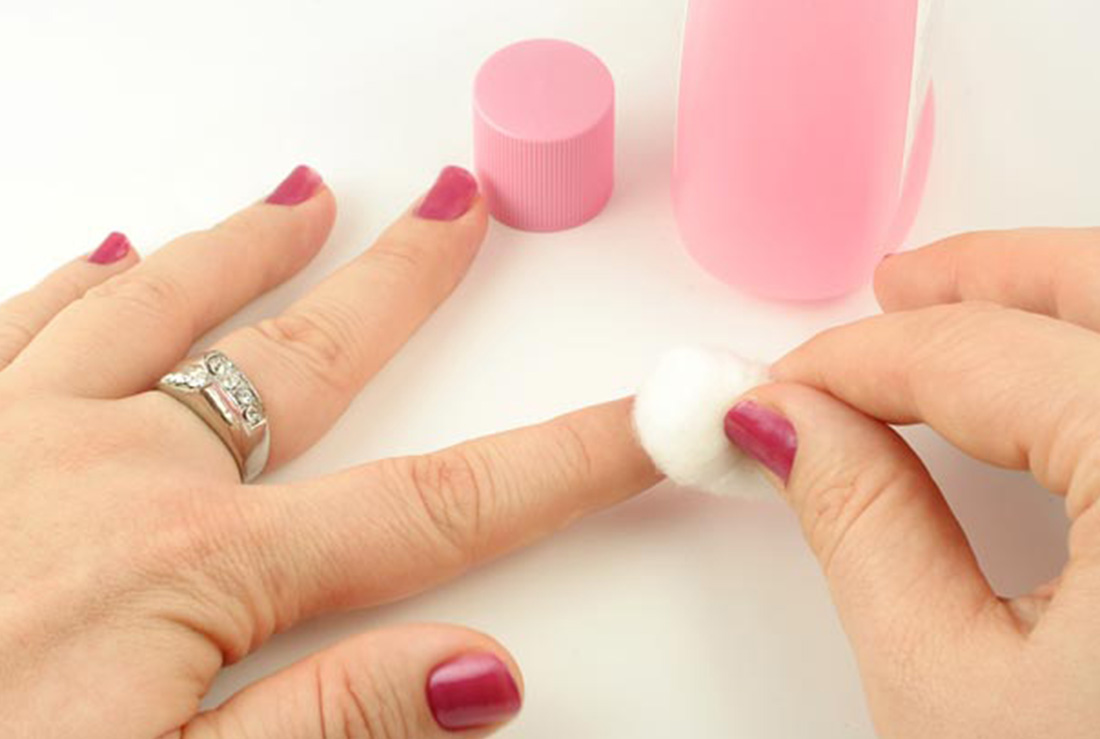
So you’ve followed all of the steps in our guide and you’ve ended up with a perfect at-home mani/pedi…or have you? Even the best of us can make a mistake, so don’t worry if you end up with a bit of polish on your skin or around your nails. Thankfully, there are a few ways to clean up any mistakes quickly and easily.
If you get polish on your skin, simply use a cotton swab dipped in nail polish remover to remove it. For polish around your nails, use a small brush or an old toothbrush to dip into nail polish remover and clean up the edges. And lastly, if you make a mistake while painting your nails, use a thin brush dipped in nail polish remover to correct it.