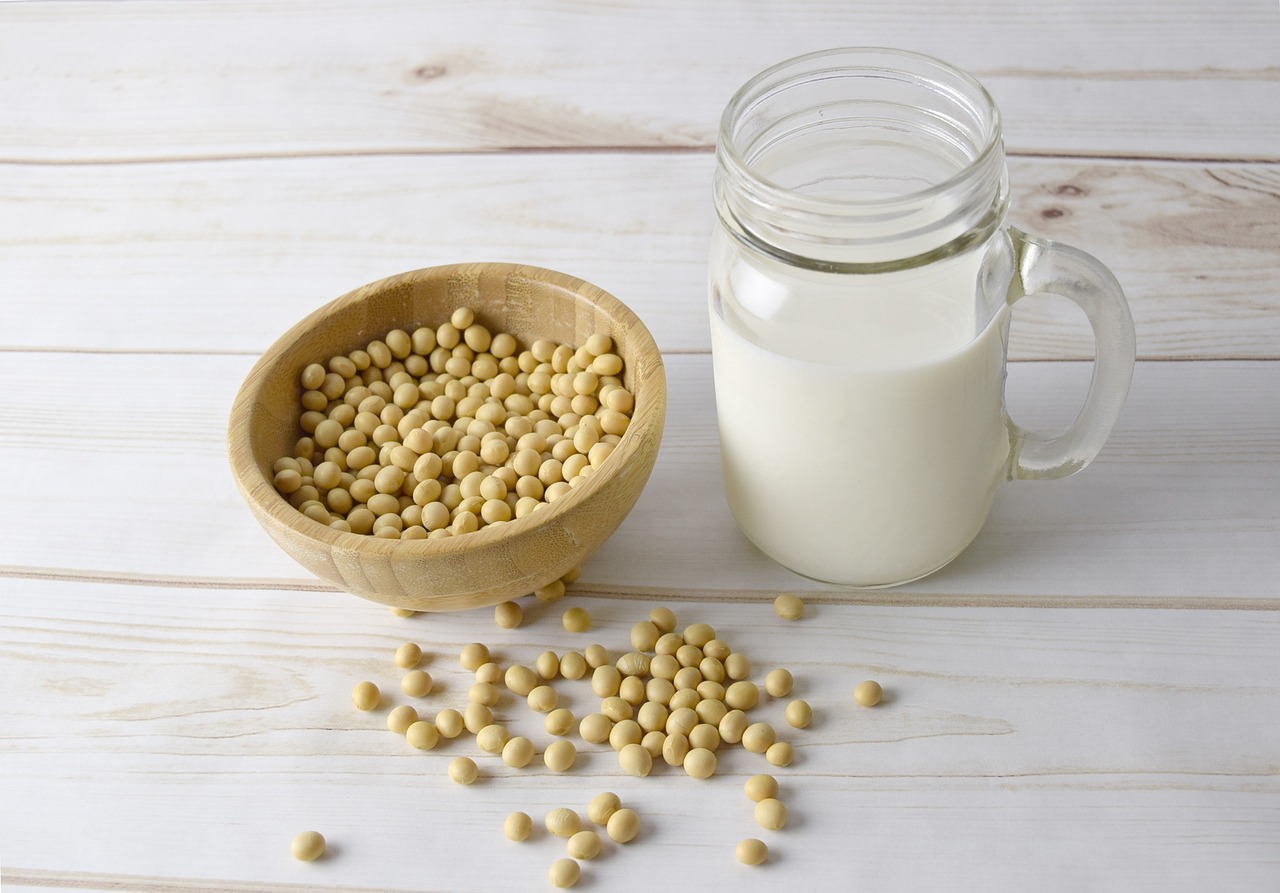
Soy milk, a delicious and nutritious dairy alternative, is gaining popularity among health-conscious individuals. Learning how to make soy milk at home allows you to enjoy a preservative-free and additive-free beverage that can be used for drinking, culturing, or making tofu. Making soy milk is easier than you might think, and with just two main ingredients – soybeans and water – you can create a delicious, dairy-free beverage. In this comprehensive guide, we will take you through the step-by-step process of making soy milk at home.
Why Make Soy Milk at Home?
Before we dive into the process of making soy milk, let’s explore why homemade soy milk is a fantastic alternative to store-bought options.
1. Taste and Flavor
Homemade soy milk has a slightly grassy flavor compared to commercially bought soy milk. By making soy milk at home, you have the opportunity to customize the taste and flavor according to your preferences. You can add sweeteners like sugar or agave nectar, a pinch of salt, or even spices like cinnamon or cocoa to enhance the flavor.
2. Nutritional Benefits
Soy milk is a nutritious beverage in its own right. It is rich in protein, low in fat, and a good source of potassium. Additionally, soy milk can be fortified with vitamins A, D, and calcium. By making soy milk at home, you have control over the quality and nutritional content of the milk, ensuring that you are consuming a pure and wholesome product.
3. Cost-Effective
Store-bought soy milk can be expensive, especially if you consume it regularly. Making soy milk at home is a cost-effective alternative that allows you to save money in the long run. With just a few simple ingredients, you can create a large batch of soy milk at a fraction of the cost of purchasing it from the store.
4. No Additives or Preservatives
One of the major advantages of making soy milk at home is that you can avoid the additives and preservatives commonly found in commercial soy milk. Homemade soy milk is free from any artificial ingredients, ensuring that you are consuming a pure and natural beverage.
Now that we understand the benefits of making soy milk at home, let’s move on to the step-by-step process.
Step 1: Soaking the Soybeans
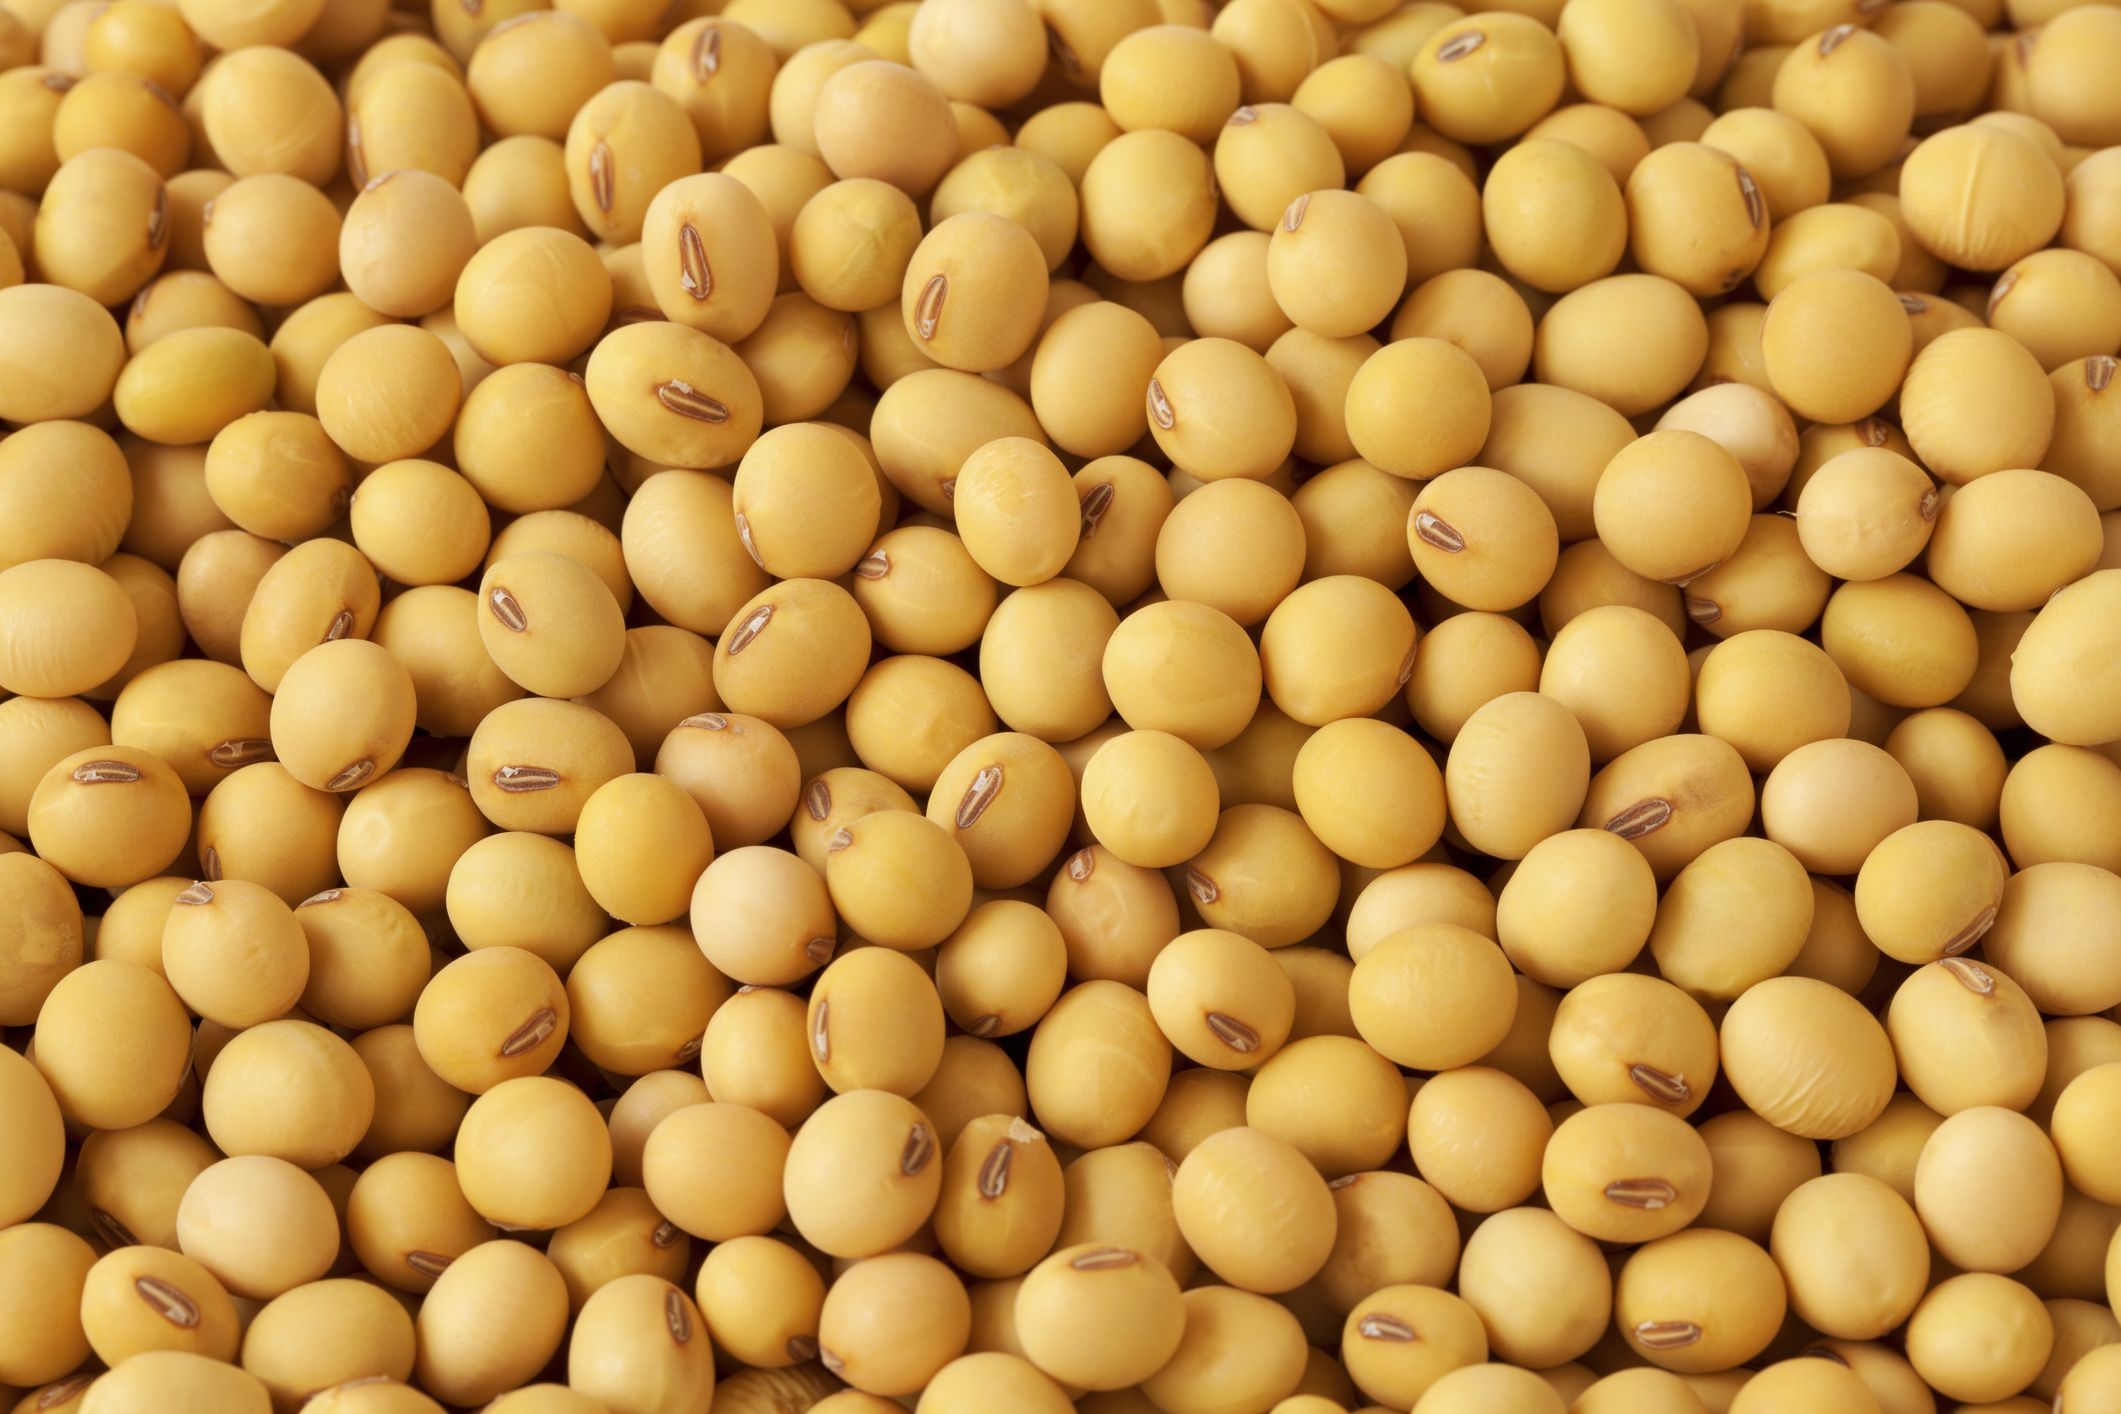
The first step in making soy milk is to soak the soybeans. This process softens the beans, making them easier to blend and extract milk from. Here’s how to do it:
- Measure ½ cup of soybeans and place them in a container.
- Add 2-3 cups of water to the container, ensuring that the soybeans are fully submerged.
- Allow the soybeans to soak overnight or for a minimum of 12 hours. This will ensure that they are properly softened.
Step 2: Removing Skins and Rinsing
After soaking the soybeans, it’s time to remove the skins and rinse them thoroughly. Removing the skins is optional, but it helps create a smoother texture in the final soy milk. Follow these steps:
- Discard the soaking water and rinse the soybeans under cold running water to remove any dirt or contaminants.
- Rub the soybeans underwater to remove the skins. The skins will float to the top and can be skimmed off. Don’t worry if you can’t remove all of them; it’s alright to have some skins remaining.
Step 3: Blending the Soybeans
Now that the soybeans are soaked and rinsed, it’s time to blend them with water to create a smooth mixture. Follow these steps:
- Place the soaked and rinsed soybeans in a blender.
- Add 4 cups of water to the blender. The ratio of soybeans to water can be adjusted according to your preferred consistency. If you like thicker soy milk, use less water; for a thinner consistency, add more water.
- Blend the mixture on high speed until it becomes smooth and creamy.
Step 4: Straining the Mixture
After blending, the next step is to strain the mixture to separate the soy milk from the solids. You can use various straining methods, but we recommend using a fine-meshed nut milk bag for efficiency. Here’s how to do it:
- Place a nut milk bag or cheesecloth over a large bowl or pitcher.
- Slowly pour the blended mixture into the bag or cheesecloth, allowing the soy milk to strain through while capturing the solids.
- Gently squeeze the bag or cheesecloth to extract as much soy milk as possible. Be careful not to apply too much pressure, as it can force solids through the cloth.
Step 5: Heating the Soy Milk
To ensure the safety of consumption, it is important to heat the soy milk to a specific temperature. Here’s how to do it:
- Transfer the strained soy milk to a heavy-bottom pan.
- Heat the soy milk over medium heat, stirring constantly to prevent sticking.
- Heat the milk to a temperature of 212ºF (100ºC) and maintain this temperature for 20 minutes. This step is crucial because soy, as a legume, cannot be consumed raw.
- Stir the milk frequently to ensure even heat distribution and prevent scorching.
Step 6: Cooling and Storing
Once the soy milk has been heated for the required time, it’s time to cool and store it properly. Follow these steps:
- Remove the pan from the heat and allow the soy milk to cool to room temperature.
- Once cooled, transfer the soy milk to a clean and airtight container.
- You can refrigerate the soy milk for up to 4 days. Shake it well before using, as natural separation may occur.
Customizing Your Soy Milk

Now that you have mastered the art of making soy milk, it’s time to get creative and customize your homemade beverage. Here are a few suggestions to enhance the flavor of your soy milk:
- Add cocoa powder and a little sweetener to create chocolate-flavored soy milk.
- Blend your soy milk with your choice of fruit to create a fruity variation.
- Mix in cinnamon for a warm and comforting flavor.
- Sweeten your soy milk with honey, agave, or maple syrup for a touch of sweetness.
- Add a dash of vanilla extract to enhance the aroma of your soy milk.
Using Homemade Soy Milk
Homemade soy milk can be used in various ways beyond just drinking it on its own. Here are some ideas:
- Baking: Replace regular milk with soy milk in your favorite baking recipes. It adds a creamy texture and a subtle nutty flavor.
- Smoothies: Blend soy milk with fruits, vegetables, and other ingredients to create delicious and nutritious smoothies.
- Coffee or Tea: Substitute regular milk with soy milk in your coffee or tea for a dairy-free alternative.
- Cooking: Use soy milk in savory dishes like soups, sauces, and curries to add a creamy and rich element.
Conclusion
Congratulations! You have successfully learned how to make soy milk at home. By following these simple steps, you can enjoy fresh, flavorful soy milk anytime you want. Homemade soy milk offers numerous benefits, from customizing the taste to avoiding additives and preservatives. Experiment with different flavors and uses for your homemade soy milk to discover your favorite variations. So, what are you waiting for? Start making your own soy milk today and embark on a delicious and nutritious journey!