If you are looking for a fun and creative DIY project that you can do from home, making your own waist beads could be the perfect project for you! Waist beads are a traditional body adornment piece that have been worn for centuries by women in many cultures around the world. They are often used to symbolize femininity, fertility, and strength. This step-by-step guide will give you all the information you need on how to make waist beads — from the materials you need to the technique you will use. So let’s get started! With just a few simple supplies, you can create a unique and beautiful waist bead set that is perfect for you.
YOU MIGHT ALSO LIKE: How To Start A Fashion Business In Nigeria: Things You Need To Know
Materials You’ll Need
Primary Color Beads
Secondary Color Beads
Spacer Beads
Lobster Clasp
Crimp Beads
Jump Rings
Wire
Beading Wire
Tools Needed
Bent Chain Nose
Pliers
Round Nose Pliers
Semi-Flush Cutter
Crimp Tool
YOU MIGHT ALSO LIKE: How To Achieve Flat Tummy Fast
Method
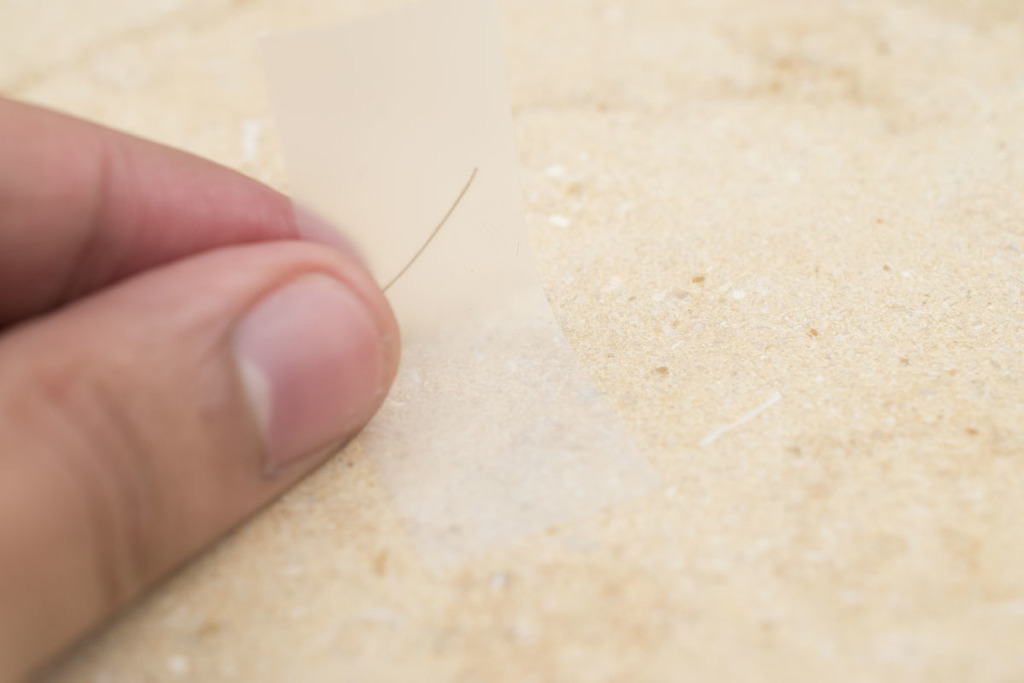
Step 1
Cut 50 inches of the tiger tail and tape its end to your working table.
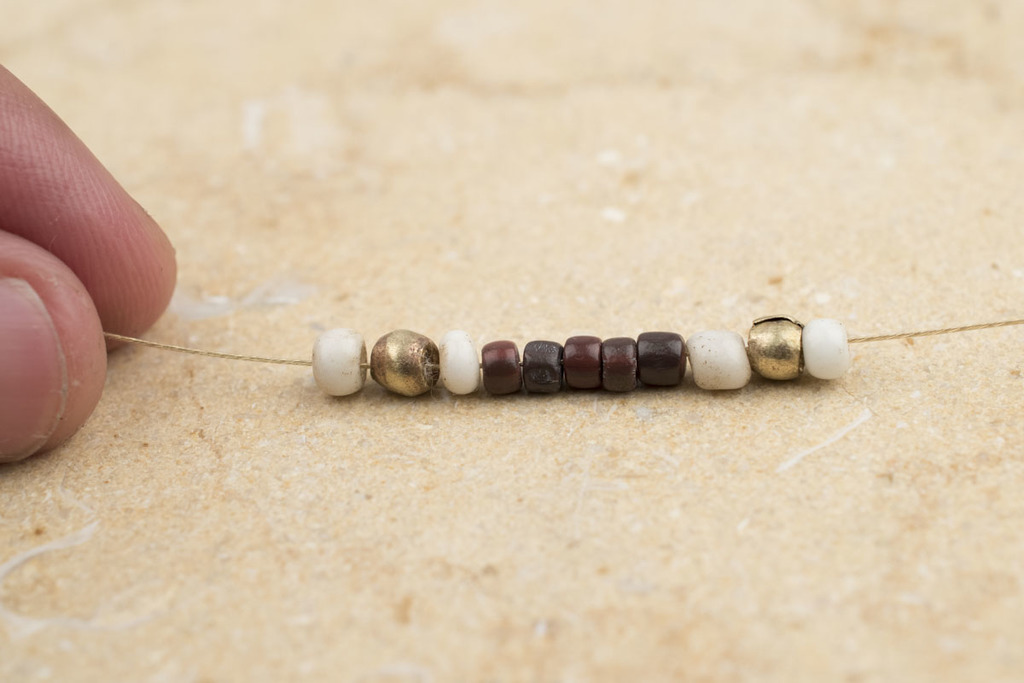
Step 2
Lay out the pattern that you’d like your beads to be strung. Be creative!
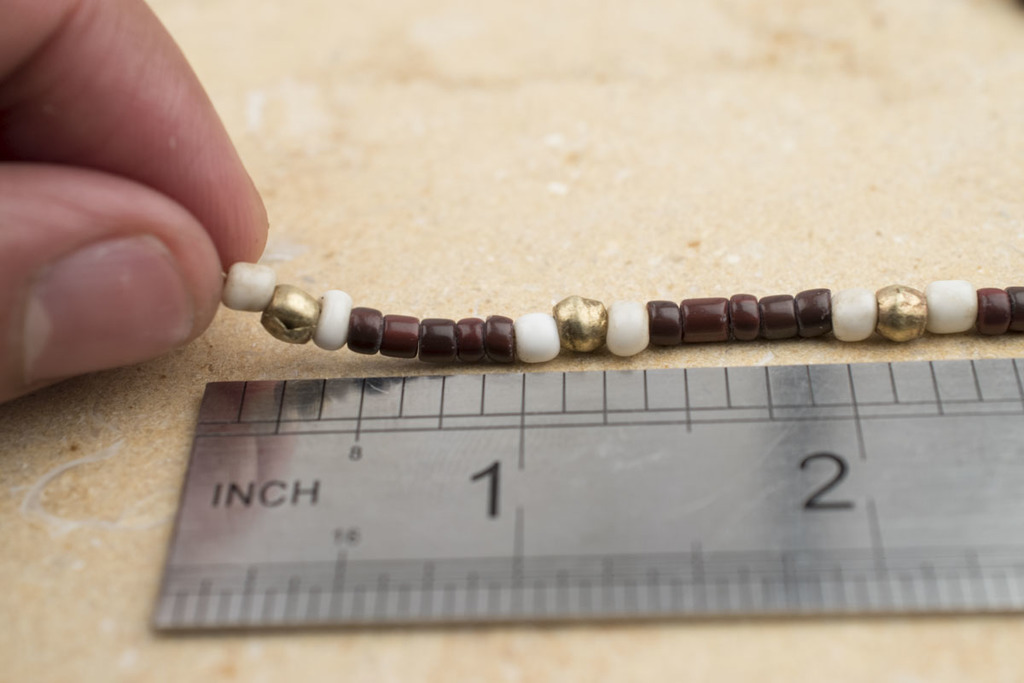
Step 3
Bead this pattern all the way through to your desired length
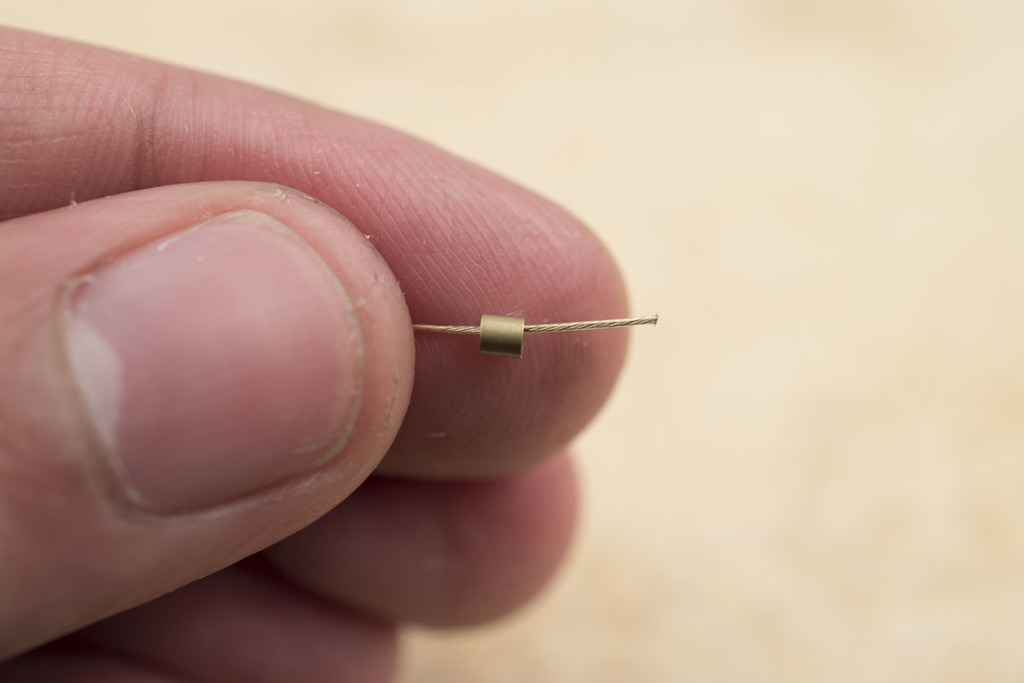
Step 4
First start by adding your crimp
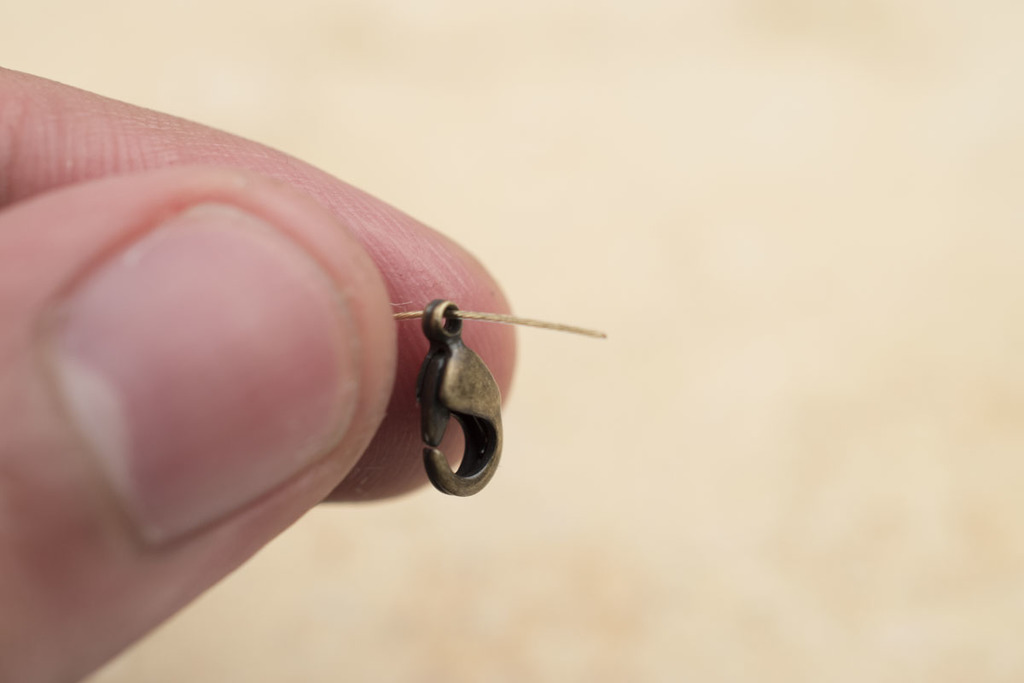
Then add your lobster clasp
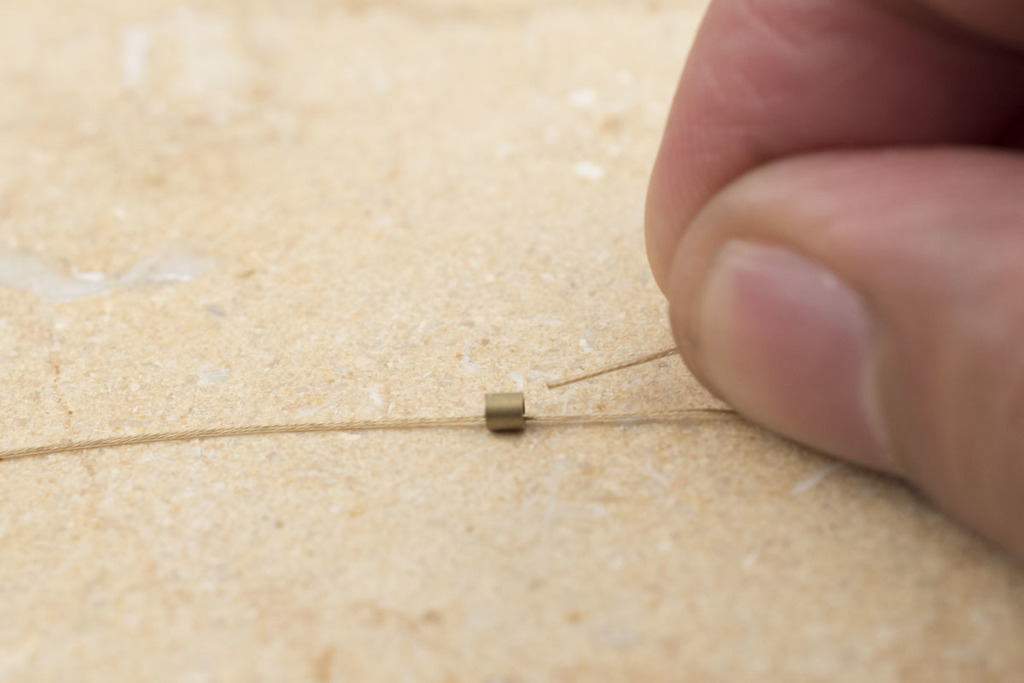
Step 5
Form a loop by stringing the wire through the same crimp.
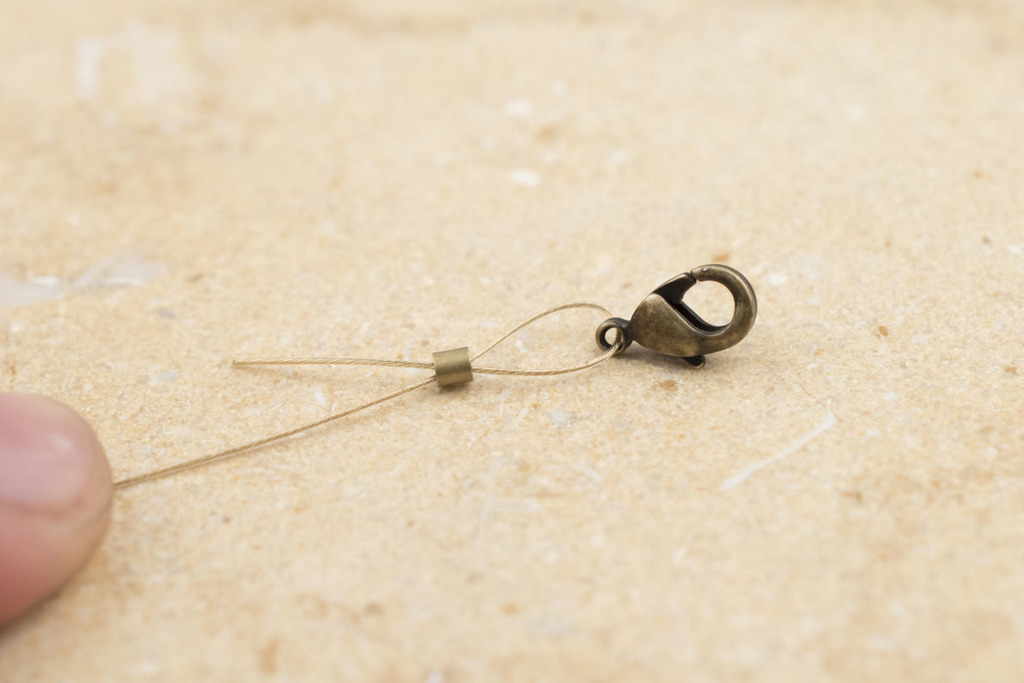
This will secure the lobster clasp in its place

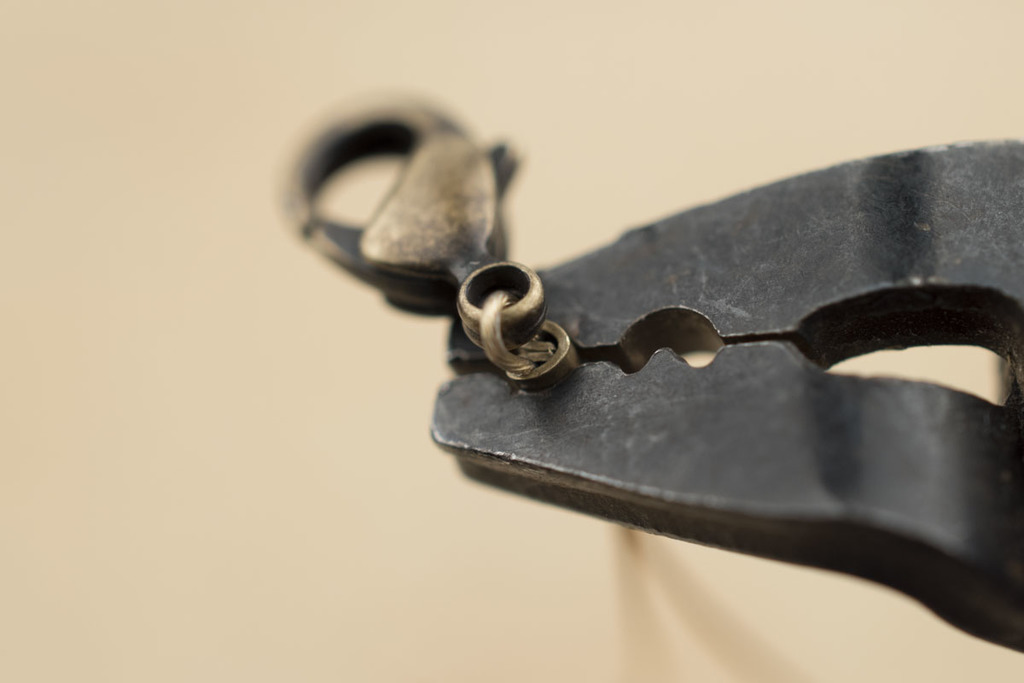
Step 6
Use the crimp pliers and crush the crimp bead using the slot closest to the handle
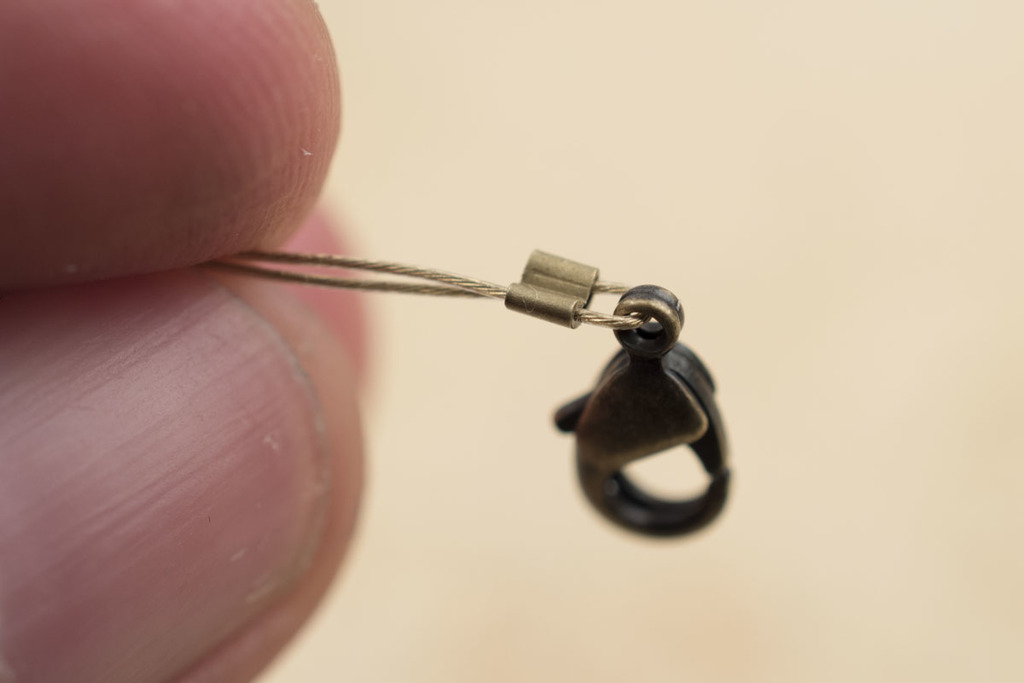
You should have a pressed crimp bead that looks like a book
Step 7
Fold the Crimp bead by putting it inside of the first slot of the crimp pliers to secure it
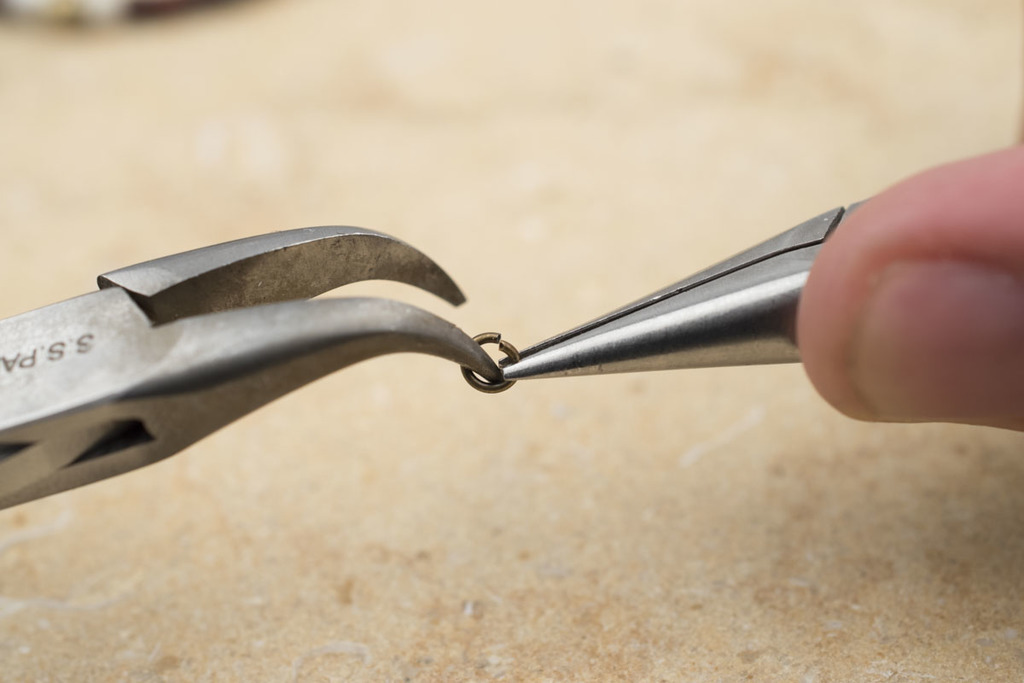
Step 8
Create a link from the jump rings by opening them with pliers and joining them together.


Step 9
Cut 1 ½ inches of 24 gauge silver wire
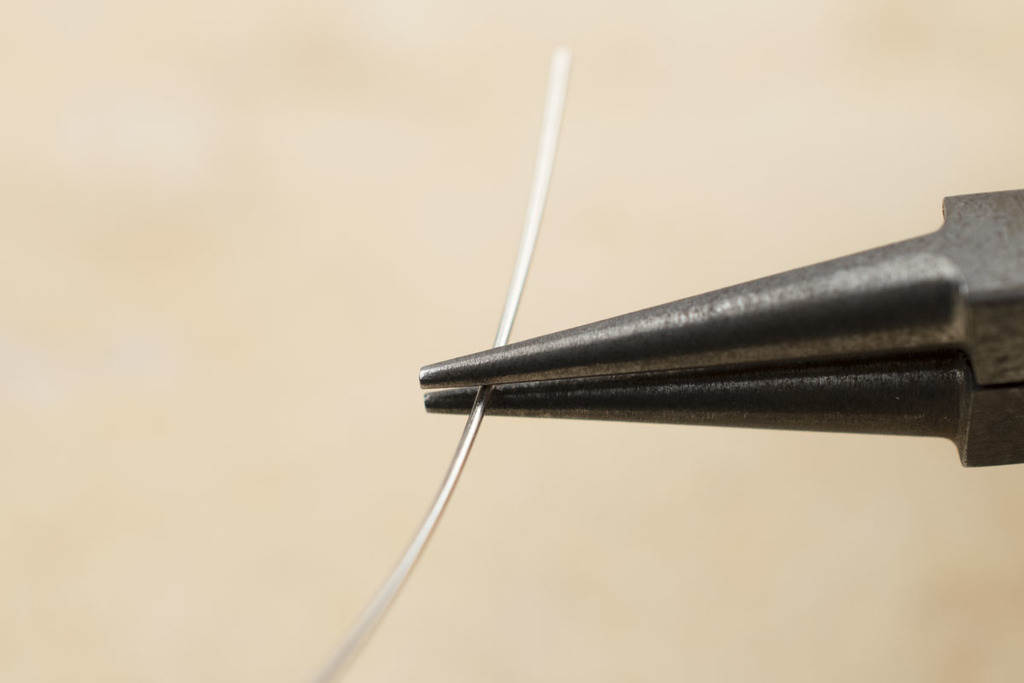
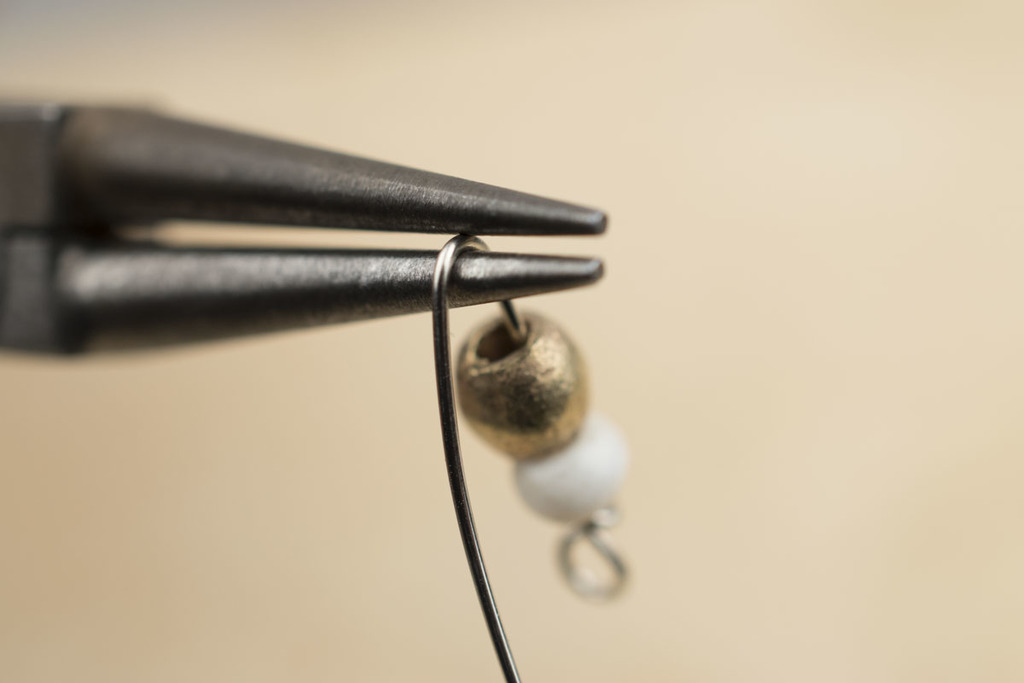
Step 10
Fold the wire around the tip of the round nose pliers molding it to create a key shape


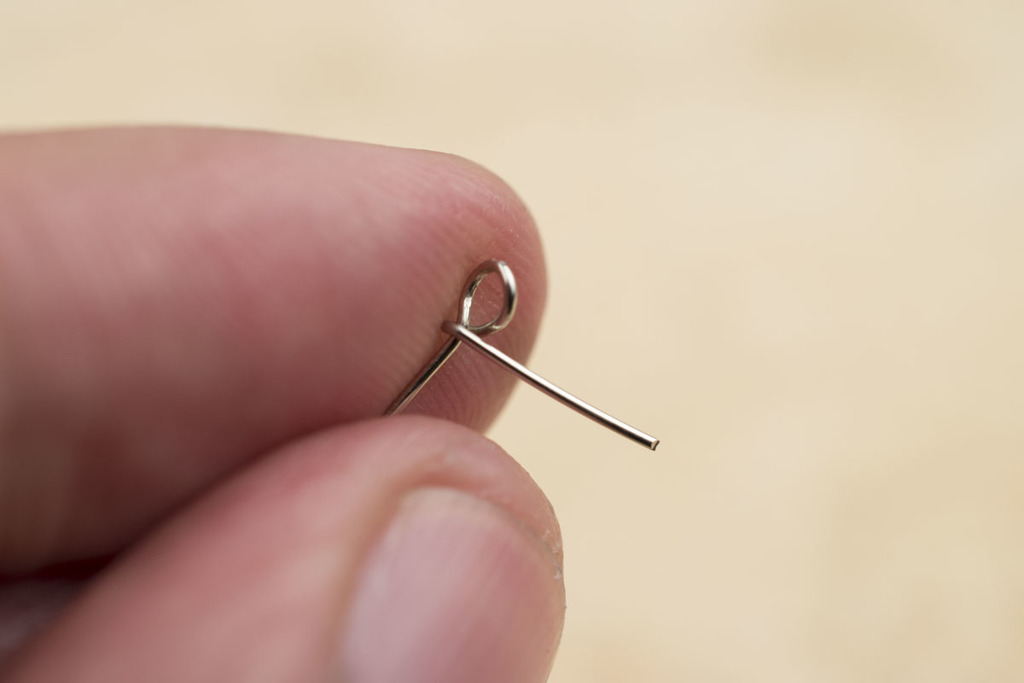
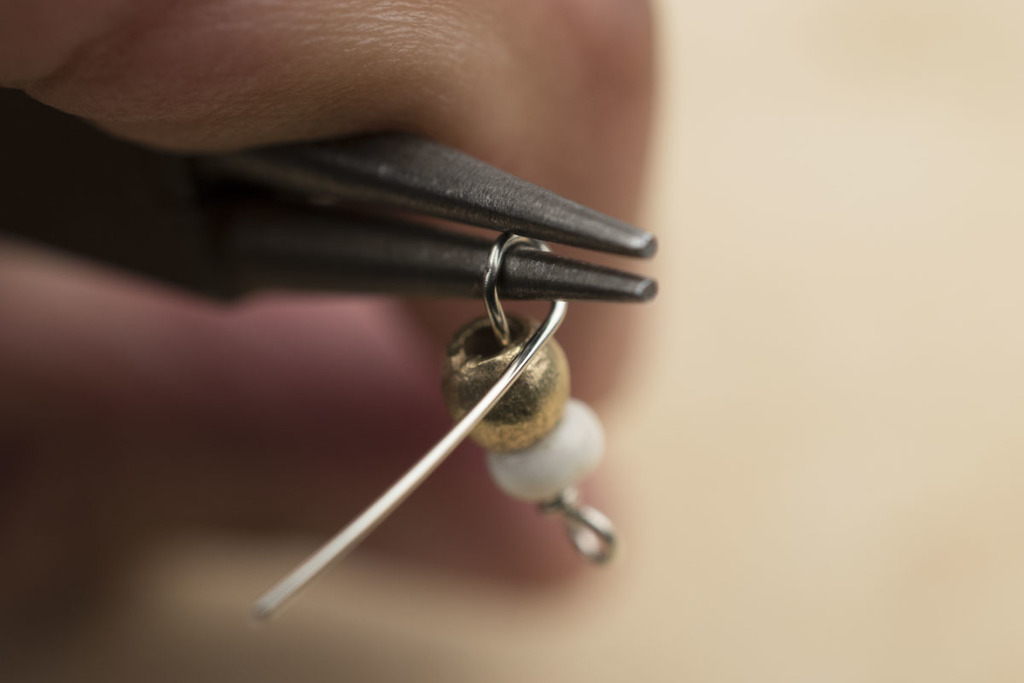
Step 11
Overlap one end of the wire over the other two times, using your finger
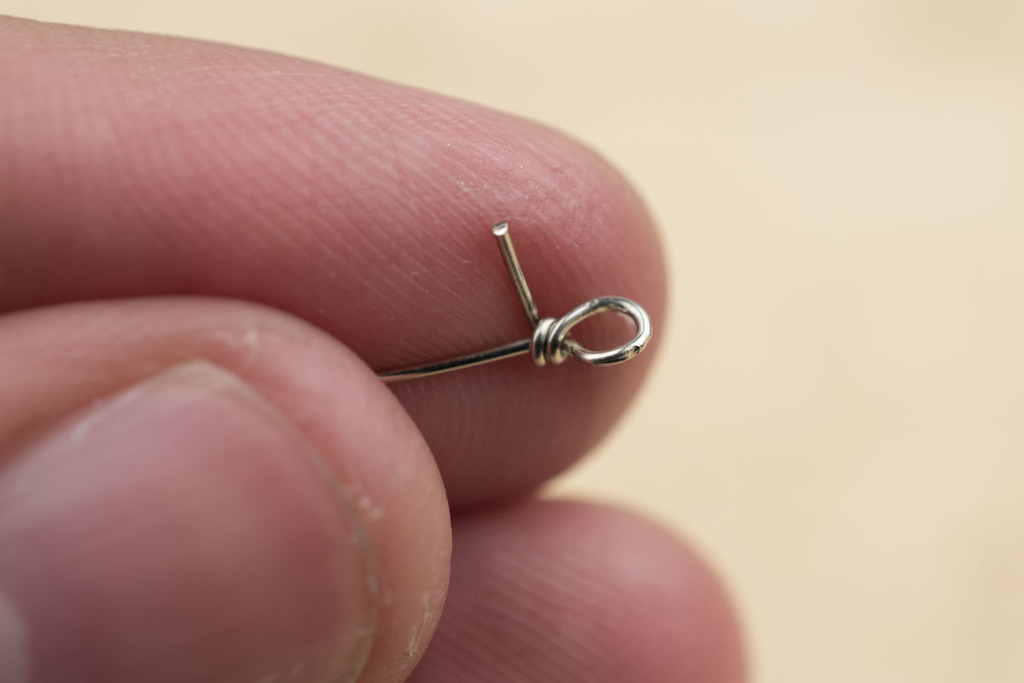

Step 12
Cut tip of wire
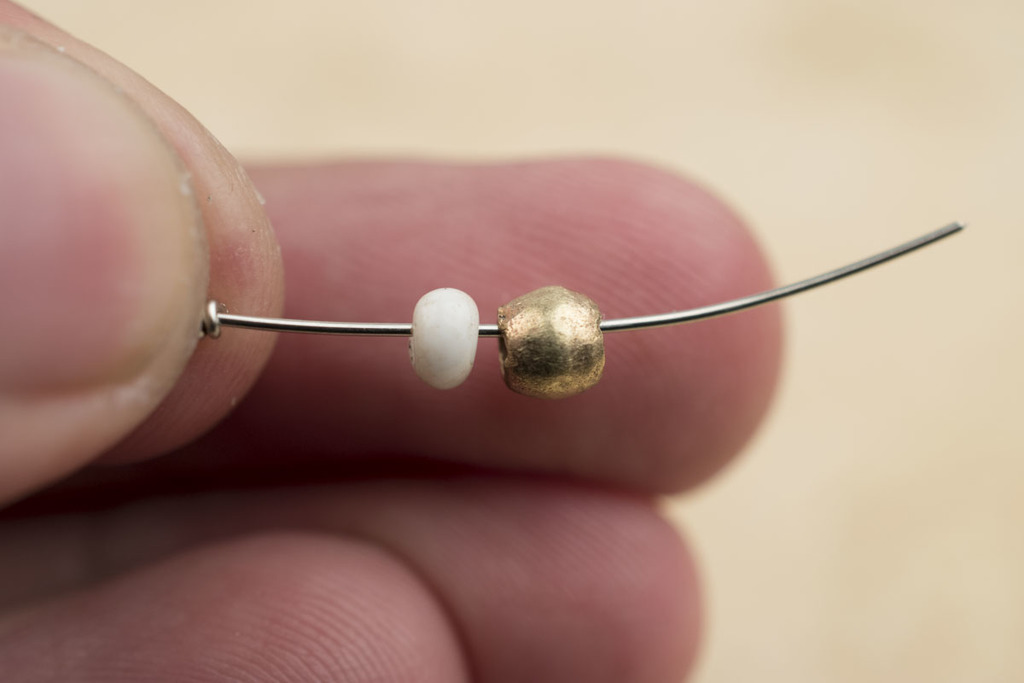
Step 13
Bead your end pattern
Step 14
Follow steps 10, 11, and 12 to secure your bead charm

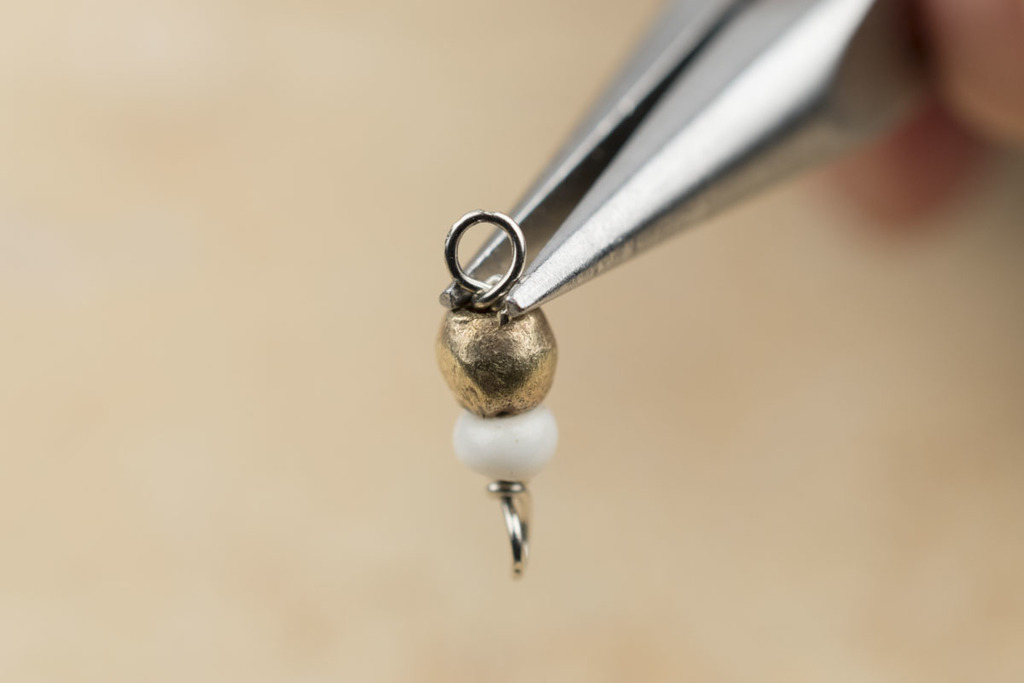
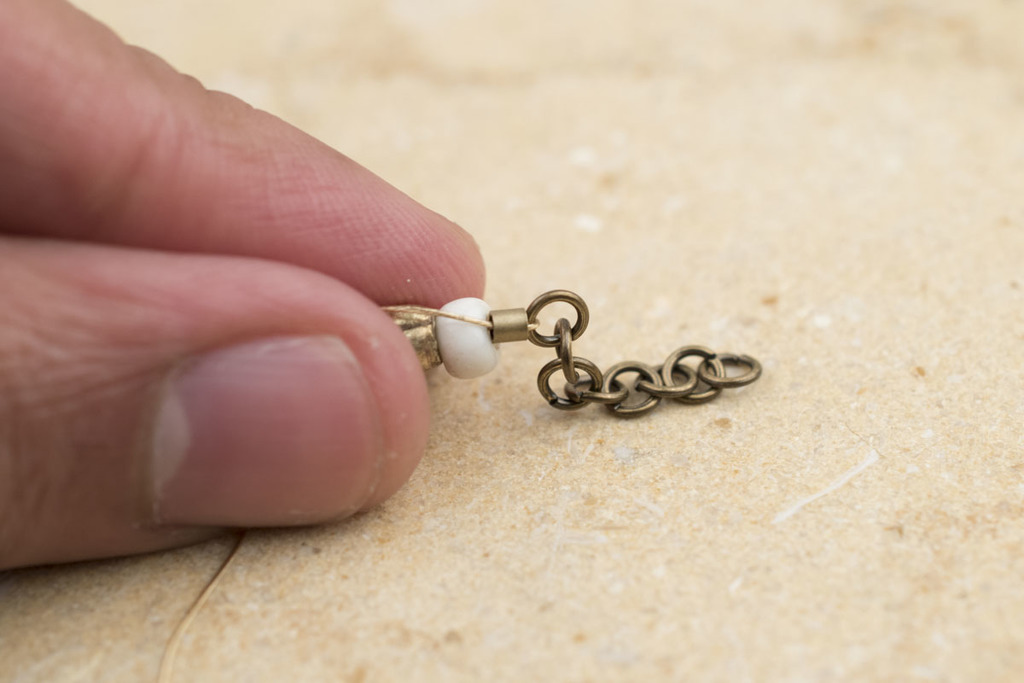
Step 15
Press on the end of the wire to keep it from sticking out
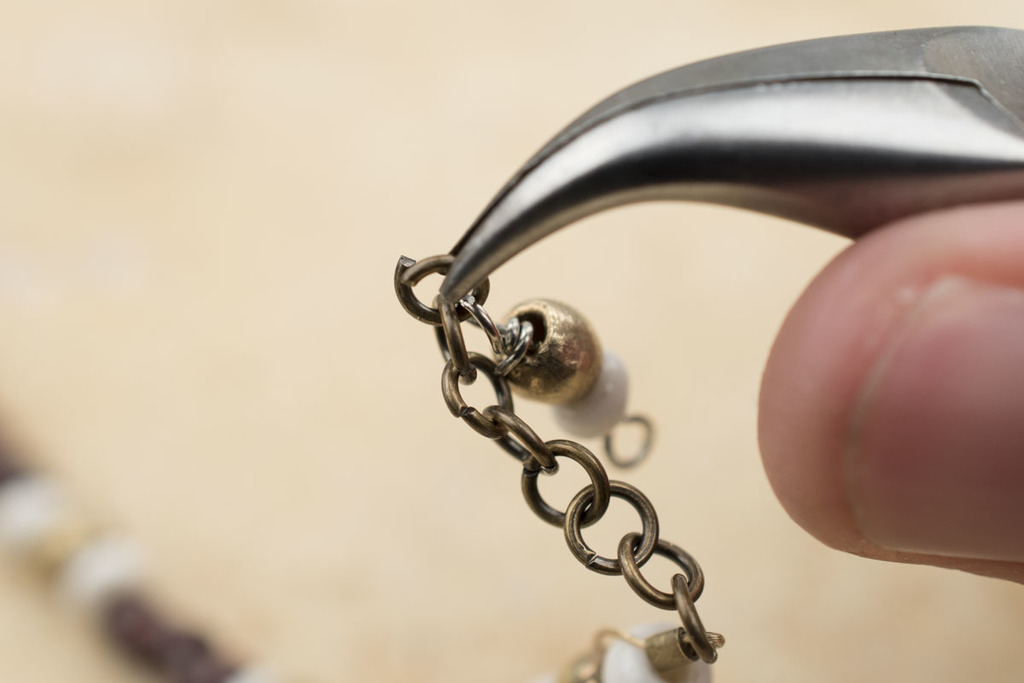
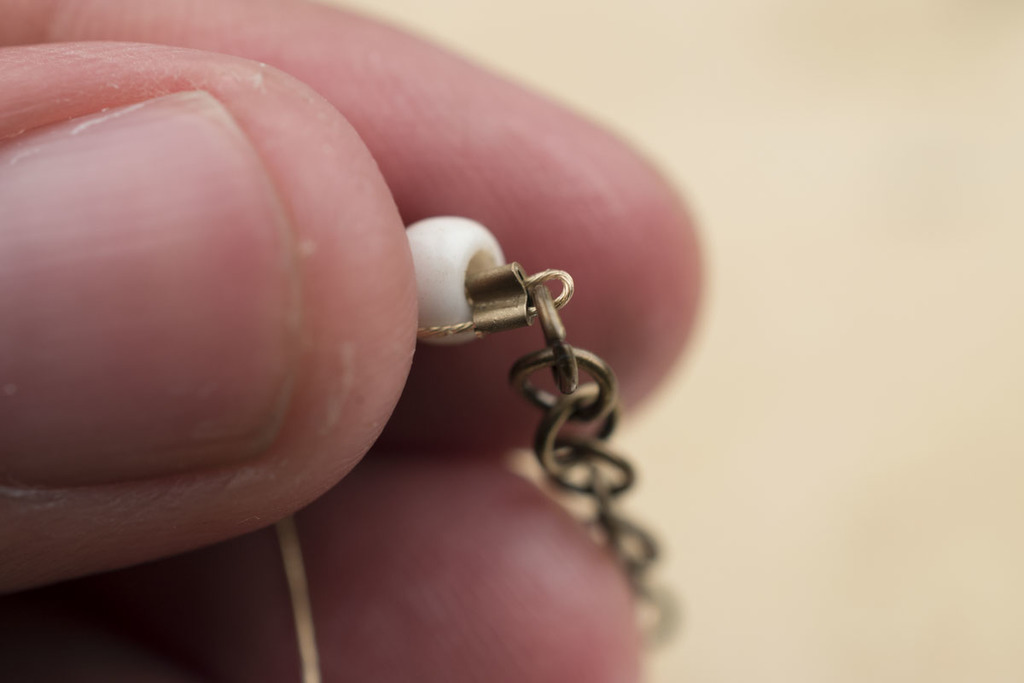
Step 16
Finally attach your end charm to the last jump ring and secure
Step 17
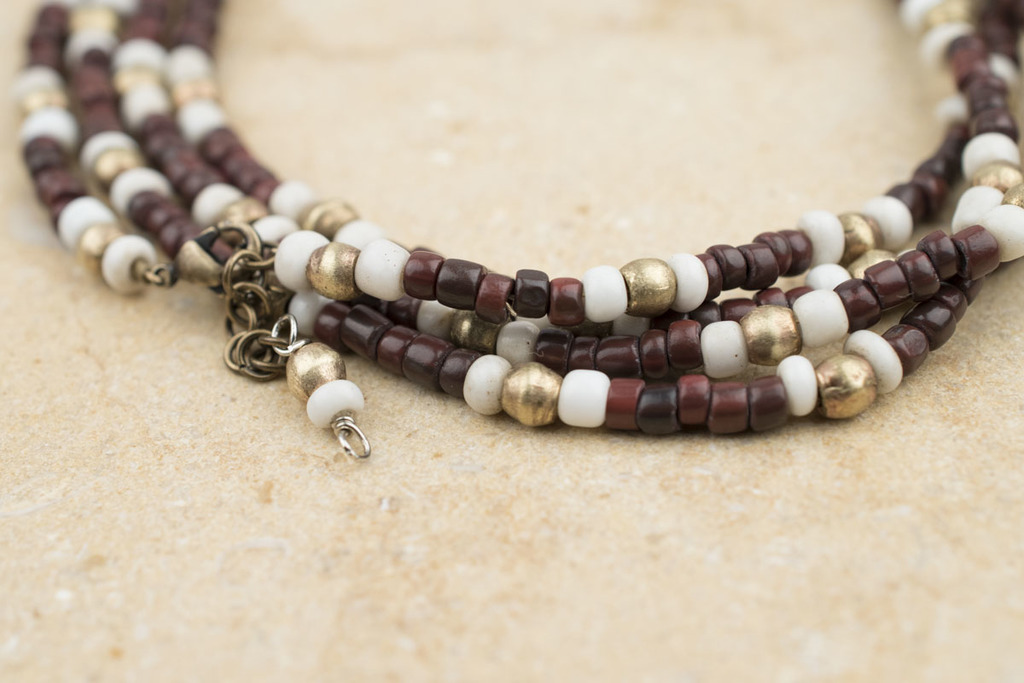
Your waist beads is ready.
Source Credit: The Bead Chest